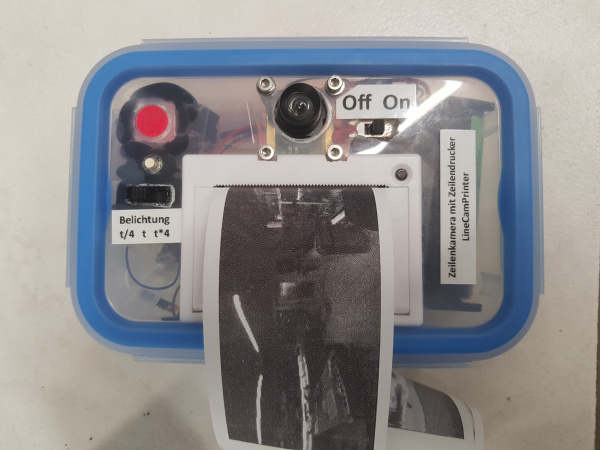
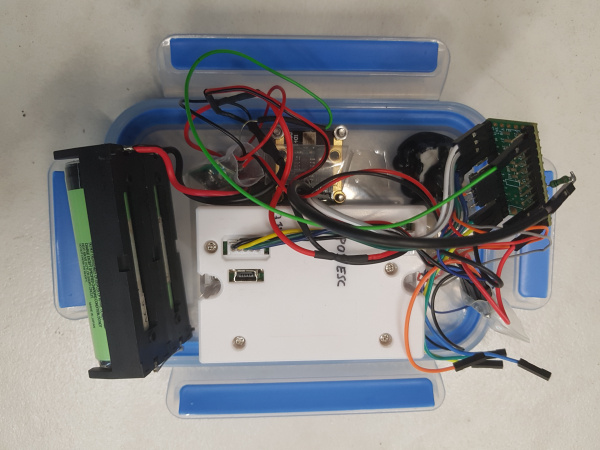
LineCamPrinter
LineCamPrinter is an instant picture camera like a Polaroid, however this particular thing is special as it captures and immediate print the scene line-by-line. The main components are a 128x1 CCD line array for capturing on line of the scene per time and a thermal receipt printer to instant printing of the captured line. A powerfull Arduino-compatible microcontroller (Teensy 3.2 from pjrc.com) controls the capturing and read out of the CCD line and as long as the shutter-button is pressed it prints the automaic-gain-controlled and dithered data from the CCD line to the thermal printer.
You have to either move or tilt the camera or record moving objects like cars driving by to get a two-dimensional picture. It works more like a scanner than a photo-camera but is more fun and give more freedom, as panoramic captures, captures of moving objects and twisted pictures are just a matter of manual movement of the LineCamPrinter.
Details of operation
As long as the camera is running, the line sensor is read-out all the time. This is done line-by-line in the following steps:
- TSL1401_Init(int32_t ExposeDuration, int32_t ExposePeriod): The TSL1401 is initialized by clocking in 170 clocks. Two delayed interrupts are now started in a way that they will be triggered exactly in the preferred frequency (period) and with a gap between that defines the exposure time. The period should set to match 2 times the mains frequency as most lights in the room are flickering that way and otherwise disturbing the image if not synced to it. For Europe 100 Hz is used here - this is 10,000 us or 10ms.
- TSL1401_PrepareExpose() is used to generate 17 additional clocks and prepare for exposure.
- TSL1401_StartExpose(): The first interrupt will come and starts the exposure by clocking in 115 more clocks. The sensor is now light sensitive and the pixel line is going to charged up by the light coming in.
- TSL1401_StopExpose(): The second interrupt will come and will stop the exposure by clocking in a few more clocks.
- TSL1401_ReadLine(): The analog values of the pixels can now be shifted out and read by the ADC. This is done using the ADC.h from Teensy to do it in very high speed. The minimum and maximum pixel values of the line will be determined and averaged over several line readings. These are used to bring the picture data to an always maximum contrast by mapping with the min and max data.
- After read-out, the process starts again at 2.
As long as the trigger button is pressed, every line gets further dithered using Floyd-Steinberg and send to the printer immediately. Because there is a long TX FIFO, the printing can continue even quite a while after capturing. However, as everything is done via interrupt, the capturing of new lines is still done with good timing.

