HoloDings: Unterschied zwischen den Versionen
(Die Seite wurde neu angelegt: „ http://www.k2.t.u-tokyo.ac.jp/perception/AIRR_Tablet/index-e.html https://onlinelibrary.wiley.com/doi/abs/10.1002/j.2168-0159.2013.tb06364.x https://www.s…“) |
(→Gallery) |
||
| (18 dazwischenliegende Versionen desselben Benutzers werden nicht angezeigt) | |||
| Zeile 1: | Zeile 1: | ||
| + | [[Datei:HoloDingsYoutube.jpg|500px]] | ||
| + | https://youtu.be/FgOgz5swqNQ | ||
| + | |||
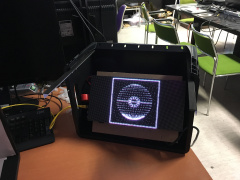
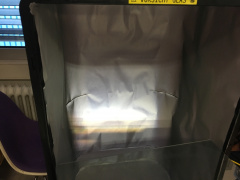
| + | A DIY hologram project based on AIRR ("Aerial Imaging by Retro‐Reflection") developed by Prof. Yamamoto. Using two optical component, if you count the observers eyes too it's one more :D This optical system refocuses the light-path in mid air, hence you get the impression of a floating image in mid air. | ||
| + | |||
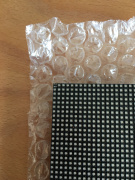
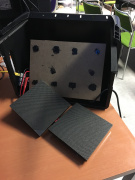
| + | The main optical components are a half mirror (aka magic mirror) and a retroreflector. A retroreflector is like a mirror, but it reflects always the photons back to the light sources. For example, all the street signs utilises retroreflectors as a foil to get higher visibility. A similar foil is used for this project, but with a better optical quality and reflectivity value. | ||
| + | |||
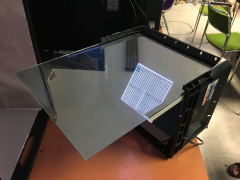
| + | The half mirror is self made. The glas is cut from a photo picture frame, and a sun shield / privacy foil was applied. | ||
| + | |||
| + | == How it works == | ||
| + | The following animation shows, from the side, the light-path for the upper half of the half mirror. The blue lines are the retroreflectors, the green line is the half mirror. | ||
| + | |||
| + | [[Datei:HoloDingsAni.gif]] | ||
| + | |||
| + | |||
| + | == Gallery == | ||
| + | <gallery mode="packed-hover"> | ||
| + | image:HoloDings1.jpg | ||
| + | image:HoloDings2.jpg | ||
| + | image:HoloDings3.jpg | ||
| + | image:HoloDings4.jpg | ||
| + | image:holodings_led_display_1.jpg | ||
| + | image:holodings_led_display_2.jpg | ||
| + | image:holodings_led_display_3.jpg | ||
| + | image:holodings_halfmirror.jpg | ||
| + | image:holodings_retroreflektor.jpg | ||
| + | image:Hackffm Gui.gif | ||
| + | </gallery> | ||
| + | |||
| + | == External links == | ||
http://www.k2.t.u-tokyo.ac.jp/perception/AIRR_Tablet/index-e.html | http://www.k2.t.u-tokyo.ac.jp/perception/AIRR_Tablet/index-e.html | ||
https://onlinelibrary.wiley.com/doi/abs/10.1002/j.2168-0159.2013.tb06364.x | https://onlinelibrary.wiley.com/doi/abs/10.1002/j.2168-0159.2013.tb06364.x | ||
| − | |||
| − | |||
https://de.wikipedia.org/wiki/Retroreflektor | https://de.wikipedia.org/wiki/Retroreflektor | ||
https://www.youtube.com/watch?v=zlN7DTx6urY | https://www.youtube.com/watch?v=zlN7DTx6urY | ||
Aktuelle Version vom 11. Oktober 2019, 19:59 Uhr
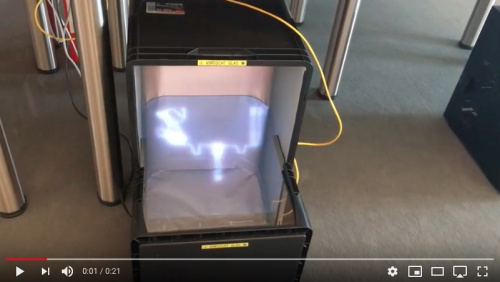
A DIY hologram project based on AIRR ("Aerial Imaging by Retro‐Reflection") developed by Prof. Yamamoto. Using two optical component, if you count the observers eyes too it's one more :D This optical system refocuses the light-path in mid air, hence you get the impression of a floating image in mid air.
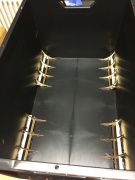
The main optical components are a half mirror (aka magic mirror) and a retroreflector. A retroreflector is like a mirror, but it reflects always the photons back to the light sources. For example, all the street signs utilises retroreflectors as a foil to get higher visibility. A similar foil is used for this project, but with a better optical quality and reflectivity value.
The half mirror is self made. The glas is cut from a photo picture frame, and a sun shield / privacy foil was applied.
How it works
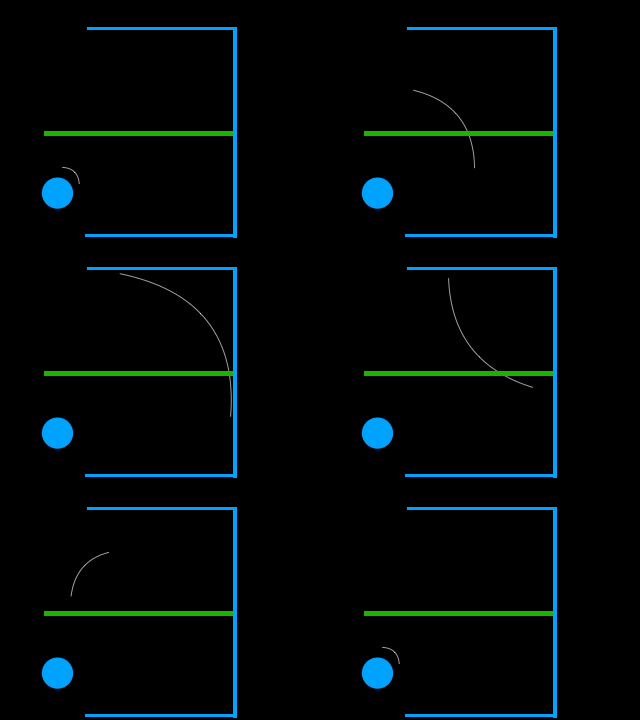
The following animation shows, from the side, the light-path for the upper half of the half mirror. The blue lines are the retroreflectors, the green line is the half mirror.
Gallery
External links
http://www.k2.t.u-tokyo.ac.jp/perception/AIRR_Tablet/index-e.html
https://onlinelibrary.wiley.com/doi/abs/10.1002/j.2168-0159.2013.tb06364.x
